


The 3 levels of cleaning
Most nights, cleaning stainless is a thirty-second job. For the messes that fight back, match the effort to the mess — there's a level for that.
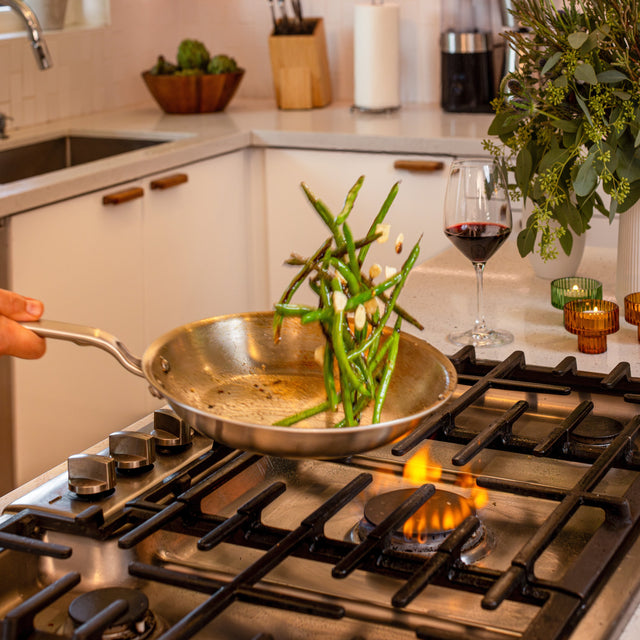
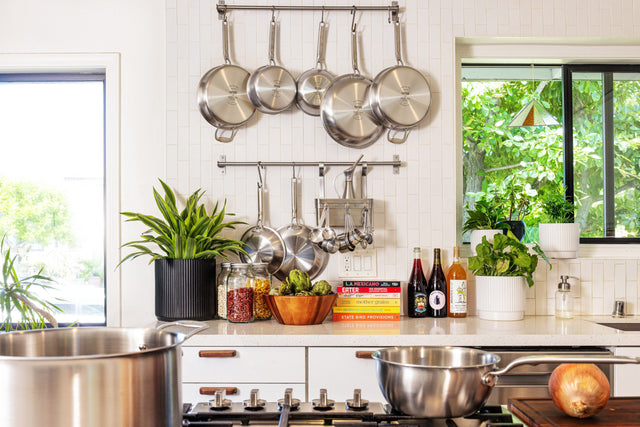
 Fig. 01 · A clean stainless pan going back on the hook
If you came to stainless from nonstick, you've been trained to baby your pans — soft sponges, gentle soap, fear of the scrub. Un-learn all of it. A stainless clad pan has no coating to protect, which means there is no wrong way to clean it. Scrub as hard as you like, with whatever you have. The pan doesn't care.
So here's the whole system: match the effort to the mess. Level 1 is most nights — thirty seconds and done. Level 2 is occasional upkeep — things you won't do often, but are good to know how to do. And Level 3 is for the big mistake: rare, understandable, and completely recoverable.
Level 1 — The everyday wash
This is 90% of the pan's life: warm water, ordinary dish soap, and a sponge — scrubby side welcome. Wash it, rinse it, done.
Two small habits that help: let the pan cool for a few minutes before it hits the water (a screaming-hot pan meeting a cold faucet is hard on the metal, and it steams dramatically), and towel-dry if water spots bother you. The spots are just minerals from your tap water — purely cosmetic, entirely optional to care about.
That's the entire routine. No seasoning to maintain, no special products, no strict rules.
Level 2 — Occasional, and good to know
Every so often the pan is clean but doesn't look it — stained rather than dirty. Nothing here is urgent: discoloration is cosmetic, and the pan cooks exactly the same with or without it. But each of these has a quick fix, and it's worth knowing which one you're looking at.
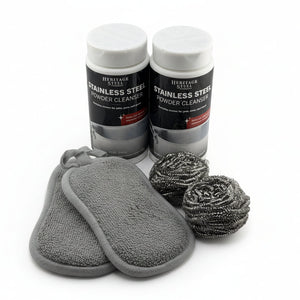
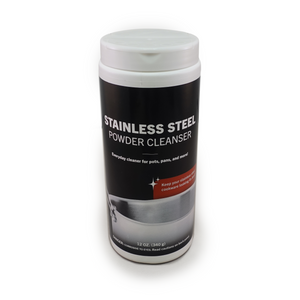
The universal tool at this level is a cleansing-powder paste — our powder cleanser or Bar Keepers Friend — worked in circles with a damp sponge.
An amber-brown film that soap won't touch, usually creeping up the sidewalls or blooming around the edges. It's polymerized cooking oil — by far the most common discoloration on stainless, and it builds so gradually that most people don't notice until the pan looks permanently dingy. It isn't permanent. The powder paste handles light cases; for the chemistry, the causes, and the full removal ladder, read the walkthrough.
A blue-and-purple rainbow sheen — heat tint from a hot, dry pan. The easiest fix of the bunch: How to clear rainbow tint.
Chalky white spots or a cloudy haze — minerals left behind by boiled tap water. A splash of vinegar dissolves them, or the powder paste takes them off with everything else.
Level 3 — The big mistake
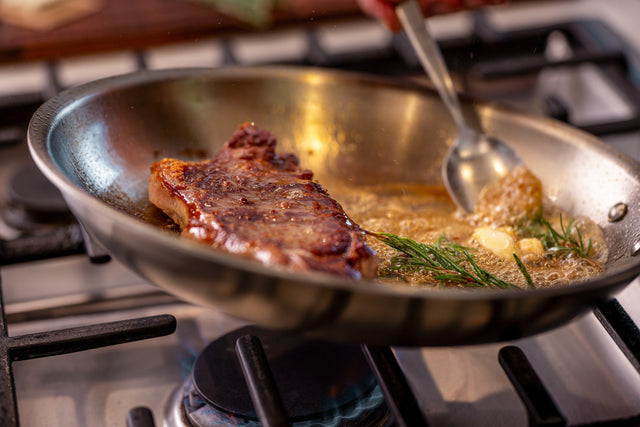
Dinner went sideways: a hard sear welded itself to the pan, or a burner got forgotten and something scorched black. This shouldn't happen often — but it happens to everyone, and steel this thick survives your worst night in the kitchen. Every time.
For the big stuck-on mess — browned bits, cheese, a whole layer of something welded across the bottom:
- Put the pan back on the stove and add about an inch of water.
- Bring it to a simmer and let it work for three to five minutes.
- Scrape with a wooden spoon or spatula — the stuck bits lift off the same way they do when you deglaze for a sauce.
- Pour it out and wash as normal. You're back at Level 1.
No energy for even that? Fill the pan with hot, soapy water and let it soak while you eat. Either way, it comes back to clean metal — always.
Scorched-black patches — or a whole carbonized pan — the one mess that outranks everything above. There's an emergency method for it, and your pan will almost certainly be fine: Help — I think I killed my pan.
You can't clean this pan wrong. The worst mess in your kitchen is a level, not a loss.
Just unboxed yours? The first wash has its own two-minute routine: Before the first cook.