


How a pan is built: our 10-step process
From a 5-ply steel blank to a shiny pan: the ten steps every piece takes through our Clarksville factory.
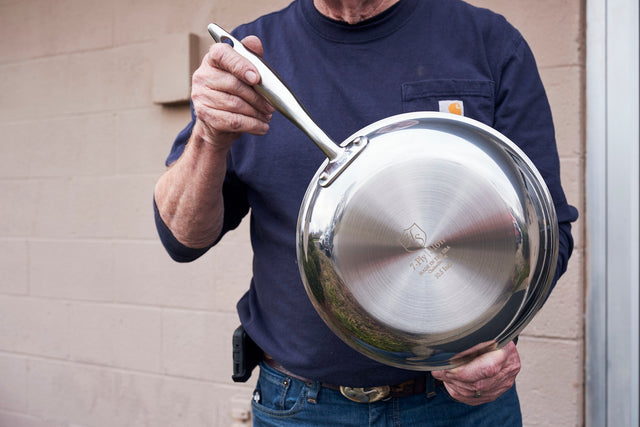
 Fig. 01 · Hand-finishing the spiral pattern on a pan in the Clarksville factory
The quality and function of Heritage Steel Cookware is owed to the skill and years of experience of the craftsmen behind the product. Every step of the process requires significant attention to detail and care.
The ten steps

Form the pan
We start the process with the highest quality 5-ply stainless steel. These blanks are aligned and pressed into their initial form by machinery exerting up to 300 tons of pressure.

Shape the lip
After its initial press, the pan undergoes two additional draws, forming the easy-pour lip of the pan and dispensing with excess metal around the edge.

Cleansing wash
We remove all the press oils from the pan in our state-of-the-art 40-foot washer that is designed to be water-saving and eco-friendly.

Grind & deburr
The rim of the pan is meticulously ground by hand to be even and smooth, removing any burrs or rough edges.

Polishing
Every pan is heavily polished, both by hand and by a HAU polishing machine. The result is an incredible luster on every pan.

Spiral finish
The bottom of the pan is hand-finished with a spiral pattern both on the interior and exterior. Internally, this allows for easy release of food while cooking and cleaning, and externally provides traction for smooth cooktops.

Rivet the handles
Each handle is aligned and riveted by hand, using a press that exerts up to a ton of pressure.

Custom laser
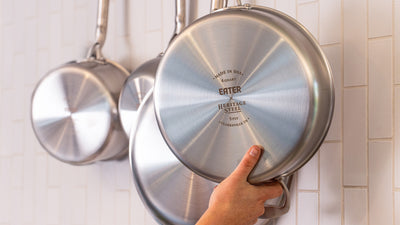
Each pan is lasered with our logo and the pan's shape or size.

Hand inspection
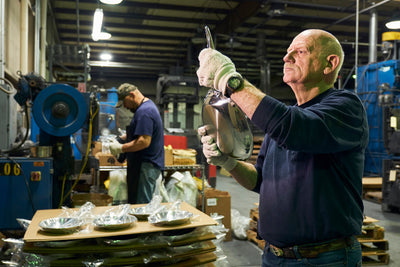
Every piece is inspected by hand to ensure it is free from any scratches or dents.

Final polish & packing
Every pan is wiped and packed by hand to ensure it has a mirror shine when removed from its packaging.
That's the line — and the people running it have been at this for decades. For the longer story of who they are and how we got here, read A History of Heritage Steel.